![Trail Day: Tillamook State Forest [Oregon]](https://offroadvegan.com/wp-content/uploads/2014/02/dscf3324.jpg?w=672&h=372&crop=1)
February 1, 2014, 7:00AM
I always get excited the night before a big Jeep day. I meticulously pack all my recovery gear, load up the ARB with my vegan goodies, check under the Jeep, check the fluids, and try my best to get some sleep.
As I lay there in bed, I think about what the next day will hold – will I break anything? Will anyone do something awesome (i.e. will they break anything?) Will we all have an awesome time?
The answer to the latter is always a resounding yes. And this day was no different.

I departed Rhododendron early, in time for a mandatory coffee stop and to pick up some veganaise at Fred’s. Once on the road, I made my way to our typical meeting place in North Plains. I arrived about 30 minutes early.
Once the group was finally fueled up, we departed for Tillamook State Forest (TSF).

We pulled into Brown’s Camp to air down and plan our route. I was always interested in Little Rubicon (I mean, I did ‘Big Rubicon’ how hard can this one be?) so we headed off in that direction.
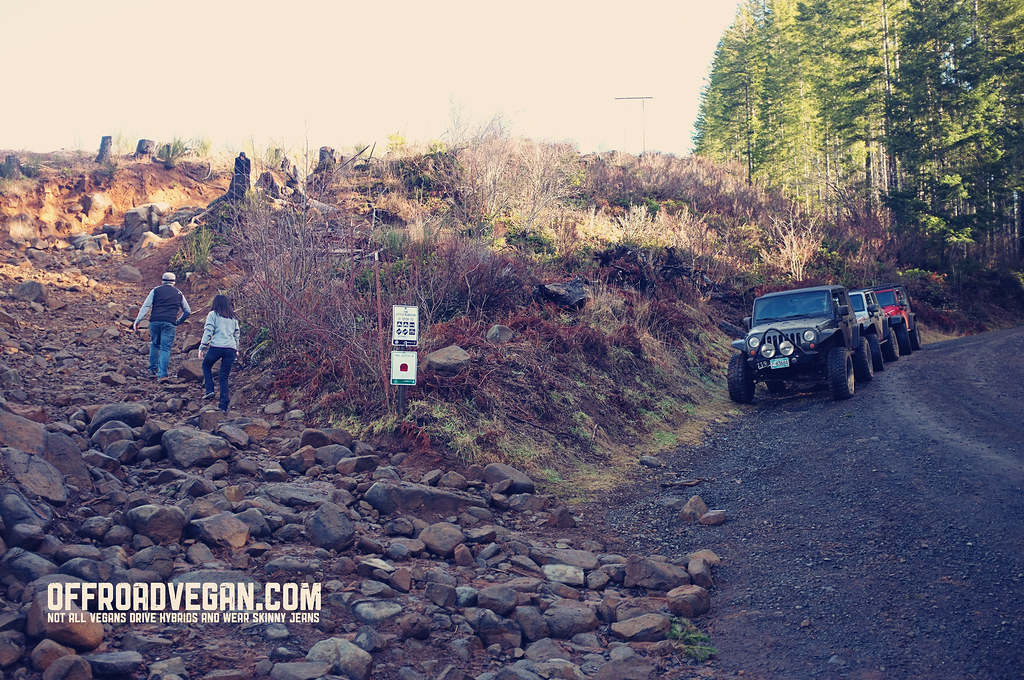
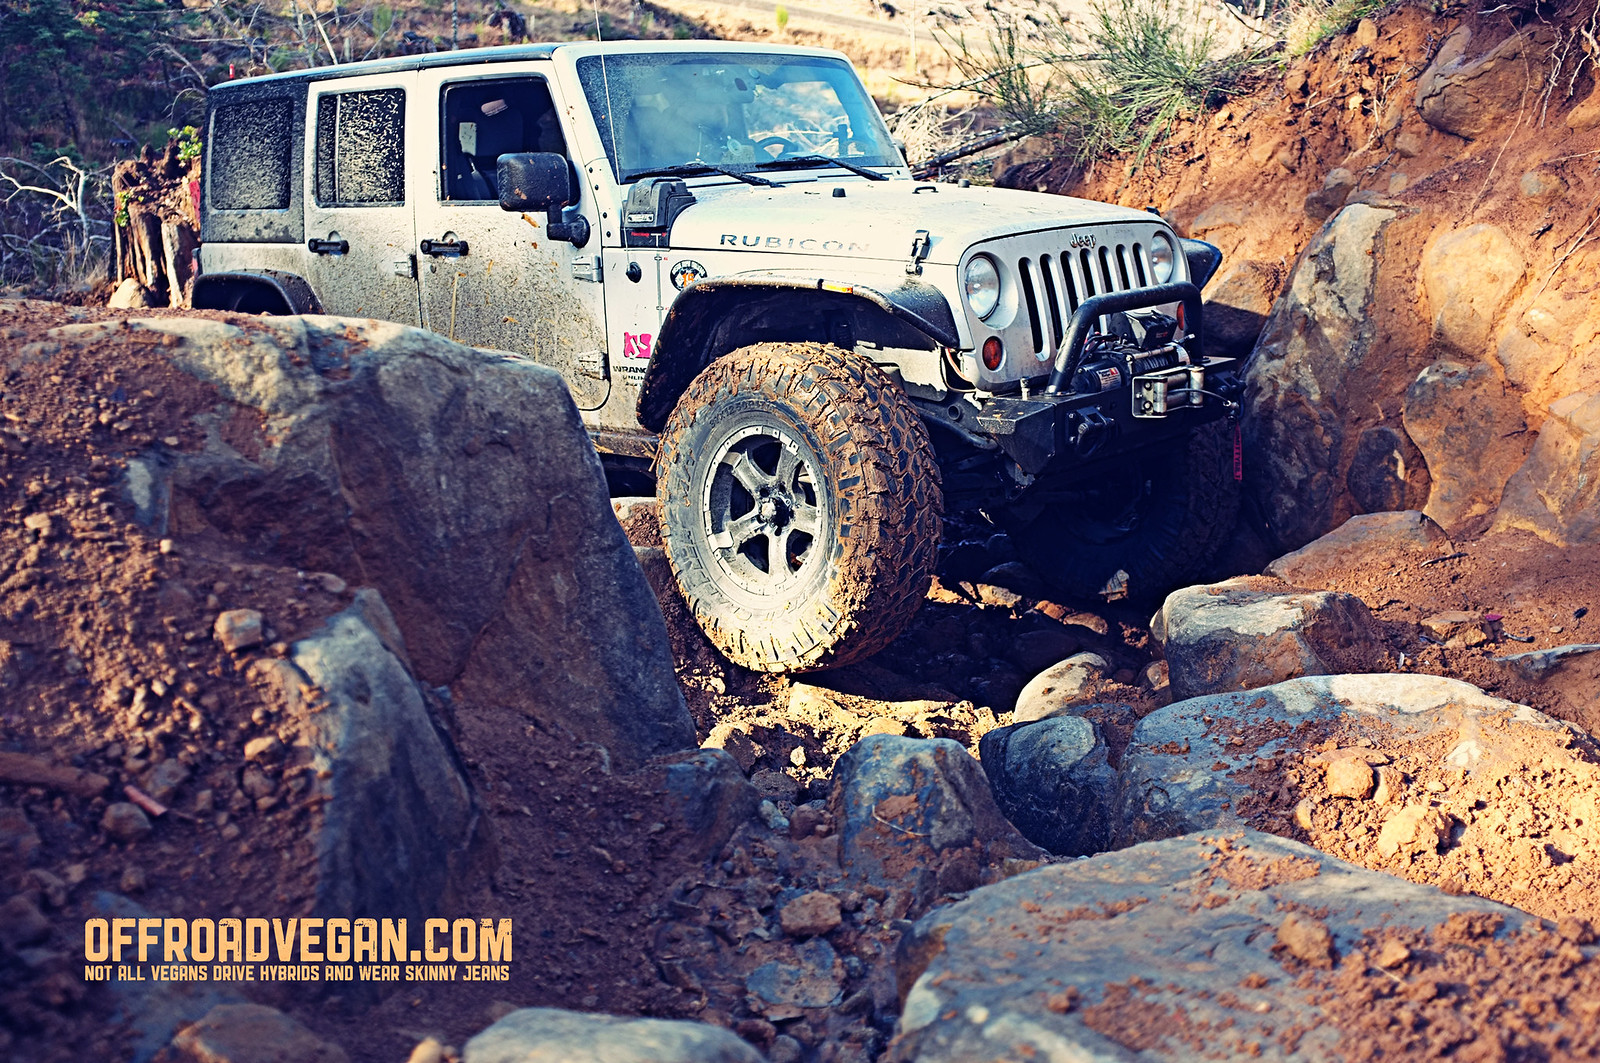
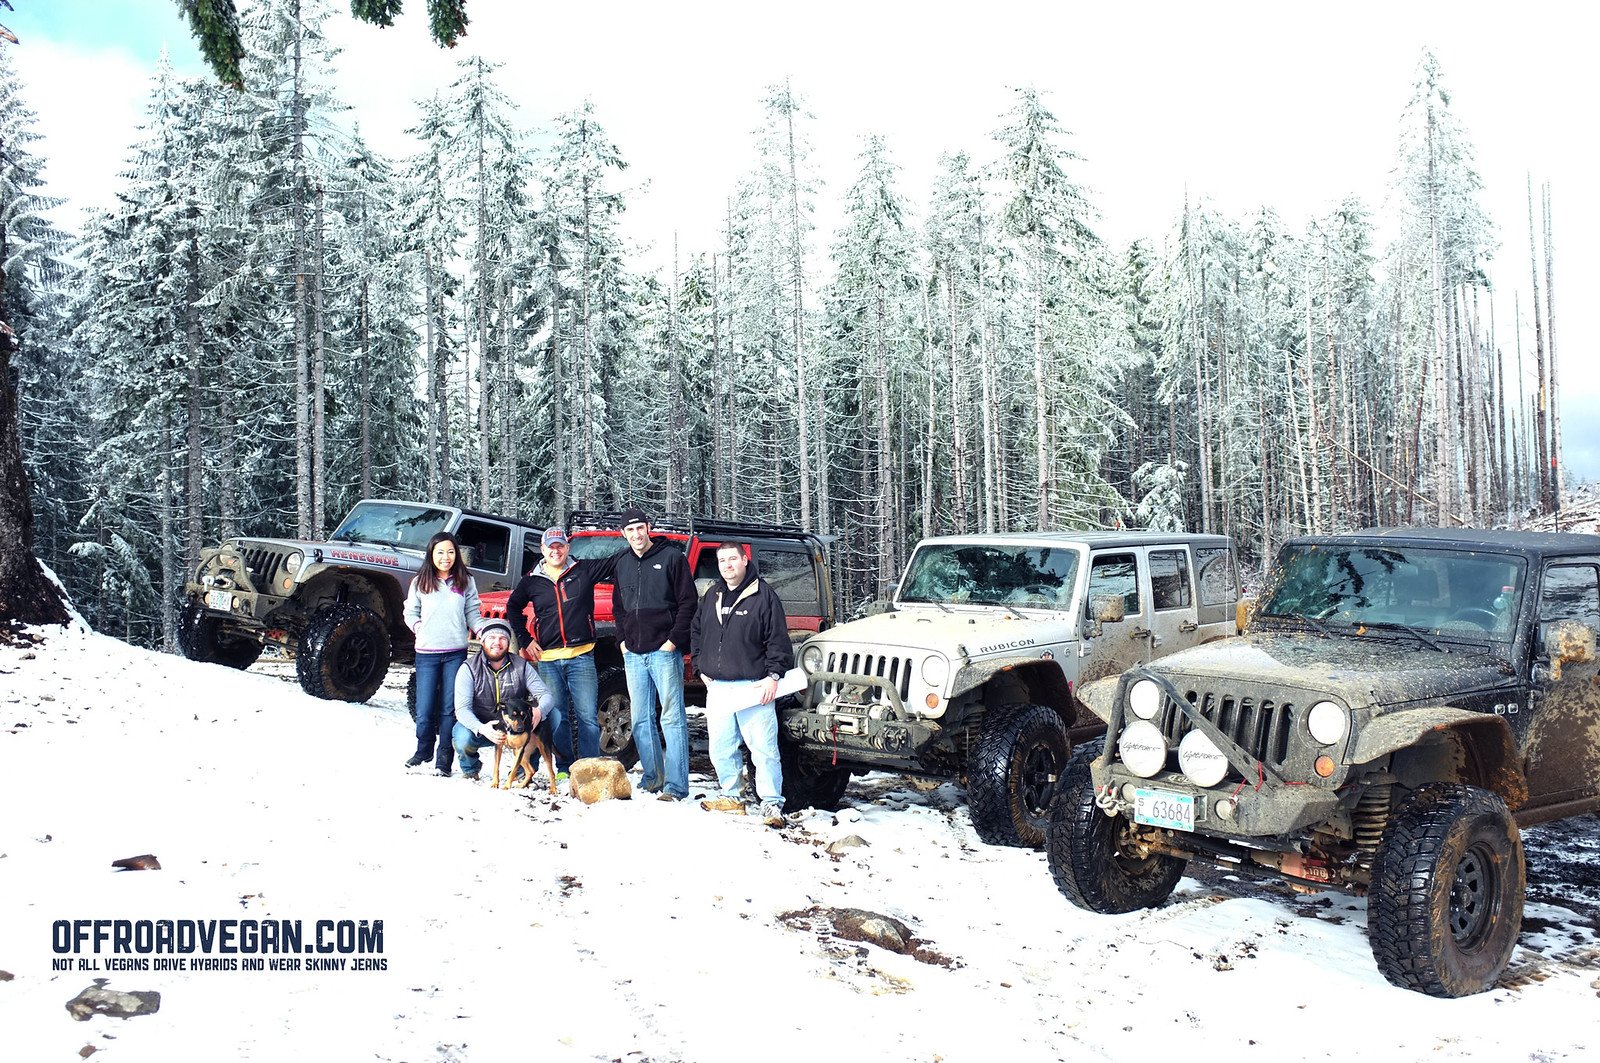
We all decided to walk the hardest part of the trail, choose our lines, and determine who would be the crazy one to go first. As Robert had the best rig for the job, we decided that he would be the guinea pig.

After climbing the initial trail segment, Robert soon hit some of the famous TSF mud. Even his well-equipped JK with Tera Grapplers could not tame the mud, and we all decided it was in his (and his Jeeps’) best interest if we save this trail for another day.
After a regroup, we decided it was time to hit the famous Firebreak 5, similar in it’s intimidation to the Vonnegut namesake, yet lacking the intellectual depth. Nevertheless, we were off to sling some mud, do some good ol’ American cursing, and eat some Beyond Meat.

The initial segments of FB5 were fun yet uneventful. At this point, the early morning clouds were burning off and the sun was filtering through TSF’s majestic pines. Of all the things I love about Jeeping in this forest, the smells are my favorite (and no, not just the burning rubber). Sadly, I was amazed at the timber harvest along this famous trail – it was unrecognizable.

We stopped for a quick lunch break, and I busted out the Beyond Meat, giving everyone a try. My trailing buddies also got free Beyond Meat coupons and recipes to make their own goodies at home.

After lunch we continued up the hill.
The one spot that we all struggled with (even Robert spun his tires once, I think) was a short muddy section with just enough of a mud/rock ratio that we needed to winch. Robert was the only one in our group to make it on his own.
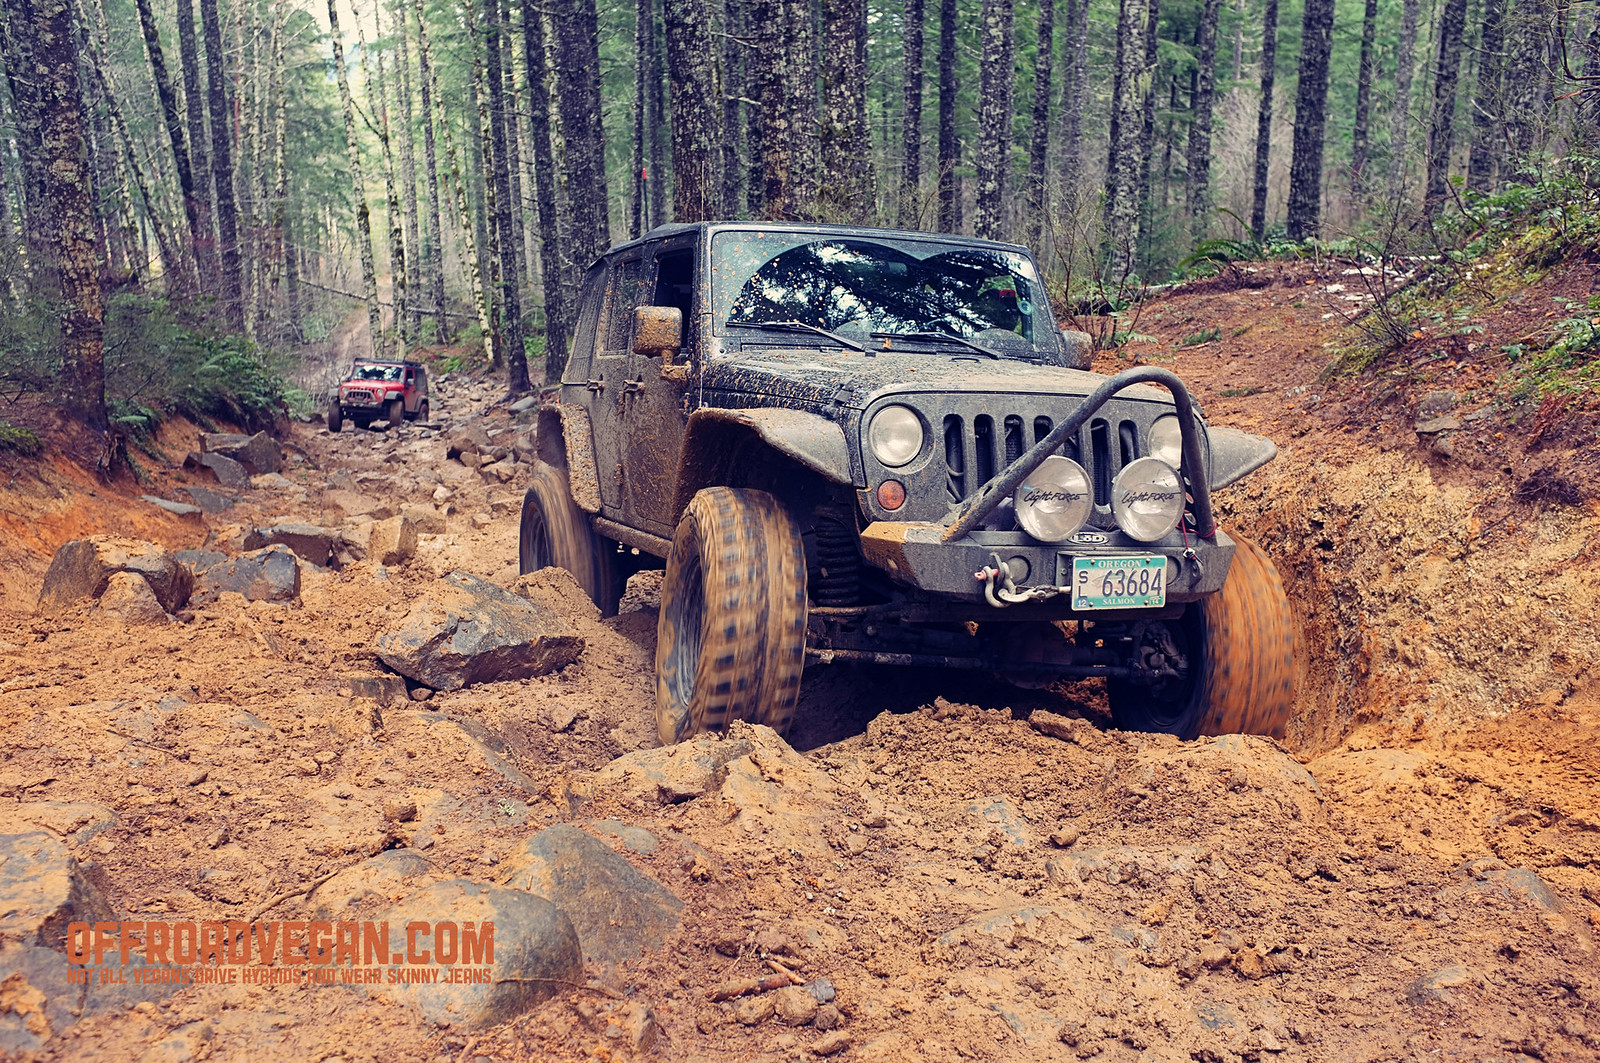
We all (except Robert) got stuck and needed to be strapped and winched. And, before my friends blame me for not putting photos of my own recovery, well I was driving…

Once past this section there were a couple of small hang ups but for the most part we made our way along.
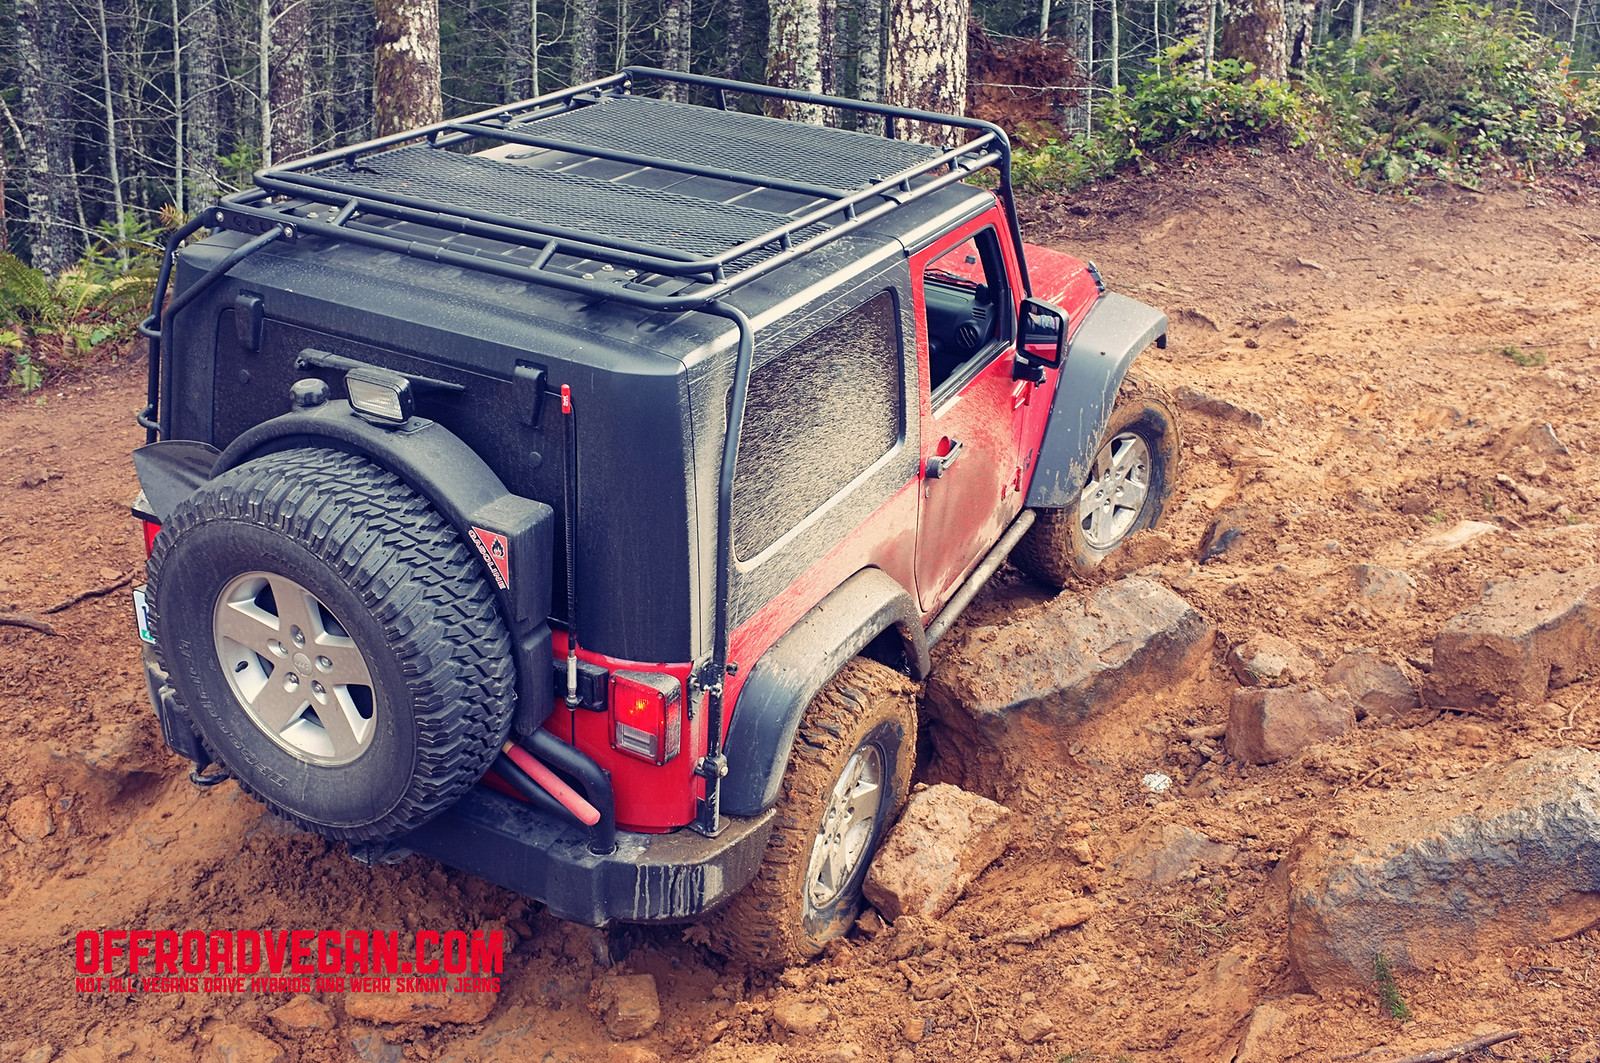
The final section saw us punching through the snowline for a nice change in scenery. The white forest was a stark contrast to the brown, mucky slop we had been fighting with.
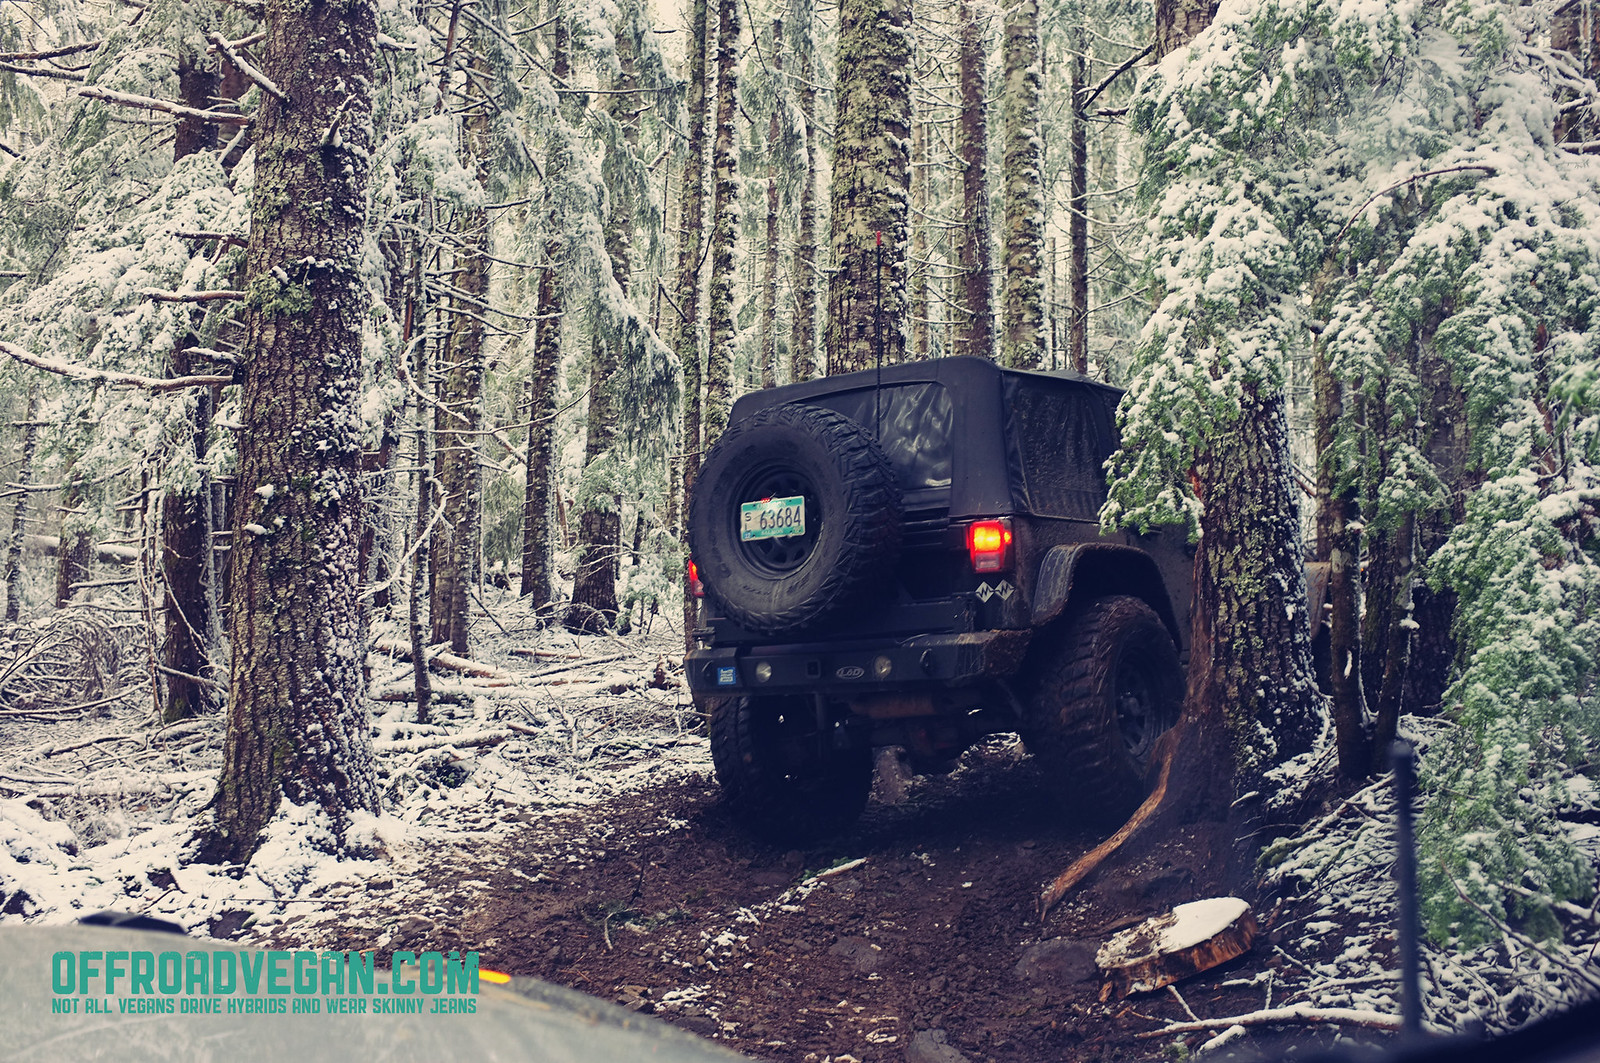
The forest changed her challenge for us in this upper section, from mud to tight, narrow trees. These trees threatened to take off mirrors, fenders, and door handles, and could really make a mess of a nice JK hard top.
We all made it through this gauntlet without issue and soon popped out into a beautiful sunny opening that signaled the end of our day in TSF.
My day ended where most days should end – in front of a Buffalo Bomber wrap (with mac, of course) at Veggie Grill!


I struggled mostly in the mud on this trip, so most of my recommendations would focus on ways to get me the traction I needed in the slop.
WHAT CAME IN HANDY:
WHAT WOULD HAVE MADE IT BETTER:


![Restaurant Review: Araya’s Vegetarian Place [Bellevue]](https://offroadvegan.com/wp-content/uploads/2014/01/2014-01-09-11-44-35.jpg?w=672&h=372&crop=1)


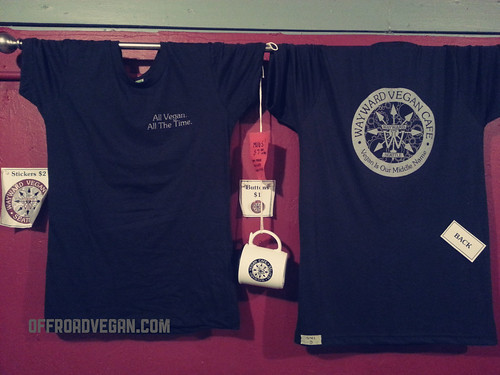
![Restaurant Review: Wayward Vegan Cafe [Seattle]](https://offroadvegan.com/wp-content/uploads/2014/01/2014-01-02-20-23-25.jpg?w=672&h=372&crop=1)


![Restaurant Review: A.N.D. Cafe [Portland]](https://offroadvegan.com/wp-content/uploads/2014/01/2014-01-02-11-54-26.jpg?w=672&h=372&crop=1)


