
So last year I purchased a 1993 Land Cruiser FZJ80 in Bend. The vehicle was in really good shape, but as a dedicated family overlanding rig, I was concerned for reliability for a 25 year old vehicle with over 260,000 miles.
Last January I decided to pull the motor out and do a complete rebuild.
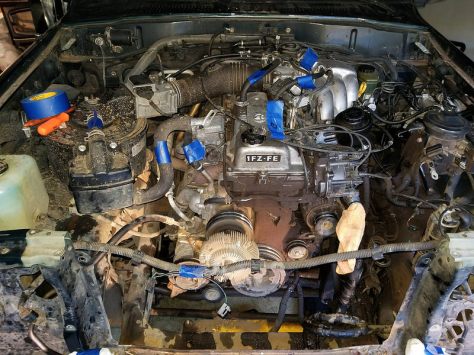
I pulled the engine out in my shop at home with countless tools, about 300 ziploc bags, and the help of dear friends.

After the first night, I had the front clip and hood off with some engine components.

For organization, I used the aforementioned baggies and also a ton of blue masking tape with letters written on them. The other end of the hose/item would have the corresponding letter so I knew where everything connected later.
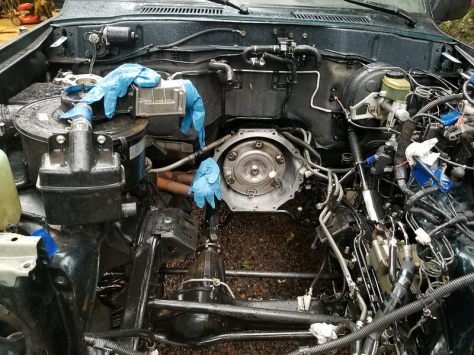
We were finally able to pull the engine out about a week later. The Toyota FSM calls to remove the engine and transmission as one unit, however we were able to separate them fortunately. It would have been crazy heavy.

I called a few engine shops around the area, and one stood out for price and availability. Pacific Japanese Engines in Gresham wanted the business, and the price was intriguing – as was the warranty. So I dropped the engine in the bed of my little commuter beater Ranger and left it in the hands of Pacific Japanese Engines on January 8th.

On the 17th, I stopped by the shop to check out the progress. The head had just arrived from the machine shop. The cylinders were bored out .020 over and the new pistons had been seated.

That night I went home and pressure washed the engine bay, and applied liberal amounts of degreaser to clean it all up.
Initially my plan was to just pick up the rebuilt engine and reinstall it myself. However, the amount of help I needed from friends was pretty intimidating. Plus, the warranty offered by Pacific Japanese Engines would have been pretty much voided if I installed it myself.
So I had the rig towed to their shop for them to install. I also bought all new engine components and dropped them off:
- New fan cowl (I broke the old one removing it)
- Starter
- Alternator
- Oil pump
- Water pump
- Plugs/wires/belts/filters/hoses/clamps
- Fuel filter
- All new vacuum hoses
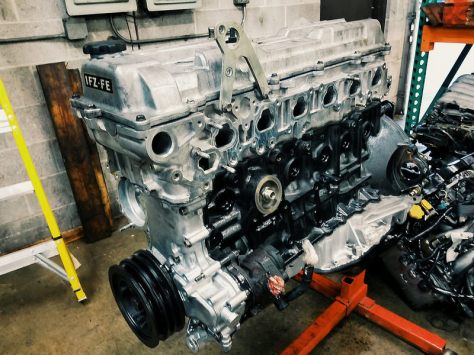
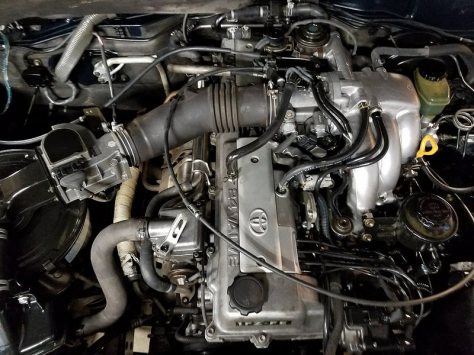
I was able to check on the progress of the build. The engine was all assembled, and ready for install.
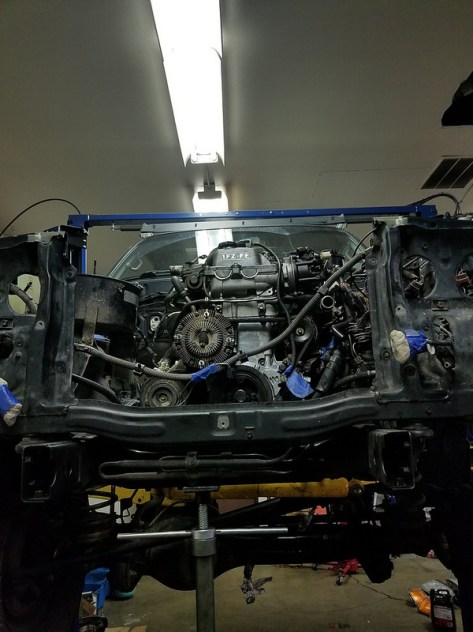
On the 25th, I stopped by on my way home from work to check on the install.
The engine was installed in the cruiser, and they were about to start reassembling the front clip.
On January 29th, the cruiser finally came home.

Thanks for sharing about car engines in your blog
LikeLike