
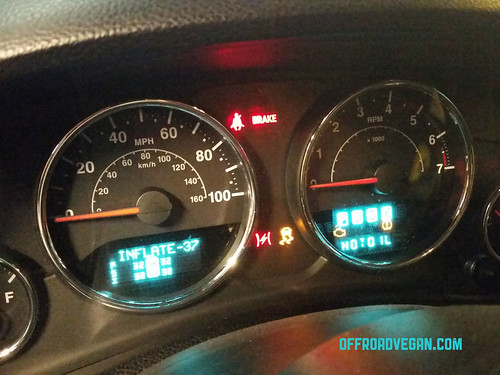
Now that my build is pretty established, with the long arm kit, coil overs, and new 37s I figured it was time to start thinking about ways to save money and improve some trail functionality.
One of the areas I have been interested in was the tuner market. On a recent visit to 4 Wheel Parts in Portland, I decided to pick up a Bully Dog GT Platinum tuner. I will write an actual review of this unit after I spend some time with it.
The install had some gotchas, so I thought I’d write a more detailed install, to help others save time.

First Phase: Initial Software Install and Setup
The instructions provided with the unit are very clear and straightforward. I use a Mac, and found the process to be difficult and not as easy (see page 30 of the instructions for Mac). For example, the Bully Dog Update Agent only runs on Windows (it downloads an exe file). So I eventually ran Parallels on the Mac and used Windows to complete the setup.


The initial software is comprised of two phases – installing the updater on your computer, and installing the updates to your device.
After installing the update agent, follow the instructions to register the device and add the SD card to the tuner. Once ready, prepare for installation to the Jeep.
Second Phase: Installing the unit to the Jeep
1. Plug the unit into the OBDII port in the Jeep, and the other end into the tuner. Make sure the small switch on the box is set to “battery.”
I will cover this in the review, but my initial impressions are a little sketchy on the placement of the cable that comes out of the OBDII plug. I drive a manual transmission, so I hope this will not get caught by my foot when working the clutch.

2. Install the updated tune to the vehicle per the on screen and printed instructions.
Important: Be sure to NOT disconnect power to the device during the update process. Follow the key on and off steps meticulously. I believe the total time the update took was about 30 minutes.
3. Route the wiring. Start by pulling off the driver side dash end panel, they are just clips and it is easy to pull off.

Run the HDMI cable up from the floor, into the side panel area. I chose this hole in the frame to zip the cable , once in place.

Feed the other end up through the weather stripping at the base of the windshield.

This is an IMPORTANT note! I was having a hard time getting the HDMI cable up through the weather stripping, so I grabbed a set of needlenose pliers. The HDMI cable provided does not take too well to that abuse, so unfortunately I thrashed the HDMI end, and had to steal a replacement from my Blu Ray player!

Using HDMI is a great way to avoid proprietary cables (which would have left me stranded earlier). But HDMI does not provide for a way to “lock” the cable to the OBDII adapter box. I modified a quick and ugly way to prevent the cable from coming unplugged.

Connect the HDMI to the OBDII adapter box and tuck away the wires under the dash. Be sure to avoid areas where your foot could catch them.
4. Prepare the power wire. I thought it would be a a good idea to add marine-grade heat shrink to the end of the power cable where the fuse spade connects. However, I do NOT recommend this. This end was too stiff, and did not let the fuse box properly close.

So attach the fuse spade to the end of the power lead, and run it through the driver side grommet (through the firewall). Pull the cable down toward the floor from the inside and plug it into the OBDII adapter box. At this point you should ensure the switch is toggled over to the “key” setting.
Tidy up all the wiring.
5. Find the proper fuse and wire it together. I used an electronic tester to find a 10A fuse that had the proper accessory off/circuit requirements for the Bully Dog.
I found the right fuse by removing random fuses with the key off that had a 0.00 voltage reading on one side, and a positive voltage reading with the key on on the other side.

Add the fuse tap to the side that DID NOT have the power in the off position. Reinsert the fuse.
Route the wire along the inside of the fuse box. You may need to wallow out a small divot in the seal in the top right corner. Feed the wire into this divot.

With the key off, plug the tuner into the HDMI cable. Ensure it remains off. Turn the key to ON and ensure it powers up.
Replace the lid of the fuse box and ensure it seals.
6. Final wiring. Once the fuse box is sealed, route the wire properly in the engine bay. Replace the rubber grommet on the driver’s side firewall.
The last thing I did was move the thick cable coming out of the OBDII plug. I pulled it tight to the left and zip tied it to one of the ground straps on the inside left wall. This seems to help, as I drove the Jeep all day today and never once hit the plug or cable.

I temporarily zip tied the unit to an existing Gopro mount on the dash. I plan on ordering an A-pillar mount for the display and will move it once that arrives.

Overall the install was easy. Don’t make some of the mistakes I did and you will save even more time!
