
I have been stalling on any additional upgrades for my axles, as I ponder the upgrade to one tons. So until then, and aside from the current build, I am trying not to upgrade anything. So when my rig developed a weird squeaking (believed to be a bent shaft), friends suggested I replace my stock shafts with another set of stock ones a buddy had laying around.
Step 1: Purchase a couple of Beyond Burgers at Veggie Grill for you and your buddies.

Step 2: Properly jack up and set the Jeep on stands or the lift.
Step 3: Remove the tire/wheel. If you use spacers (like I do), remove those too.
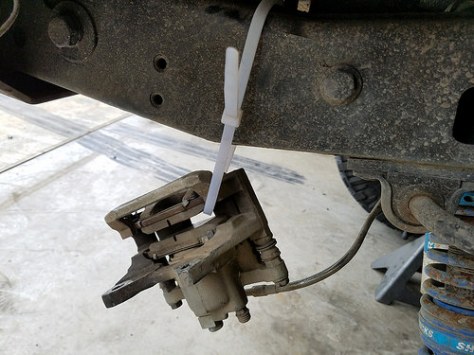
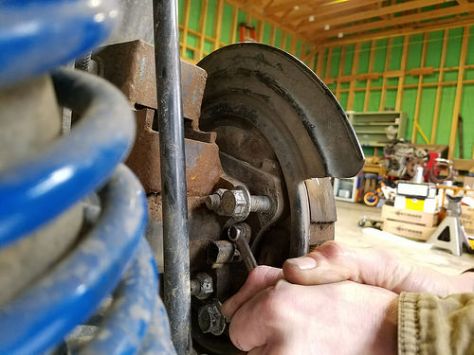
Step 4: Remove the brake caliper by removing the two bolts that hold it in place and hang it as needed.
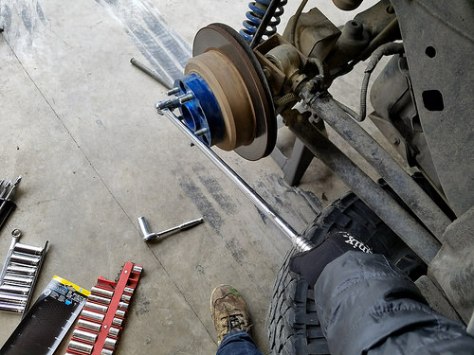
Step 5: Remove the brake rotor. Ensure the emergency brake is off. Just pull the rotor off the studs by pulling toward you and wiggle as needed to clear the wheel studs.
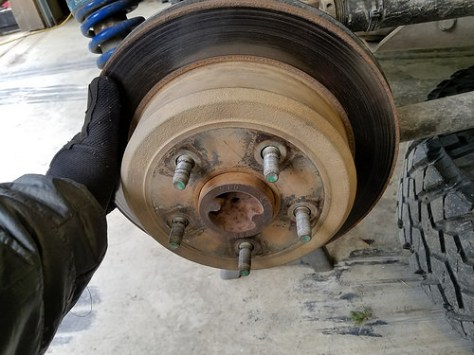
Step 6: Loosen (don’t remove) the wheel speed sensor using an 8mm wrench.
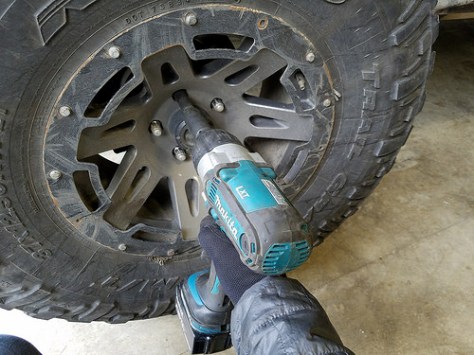
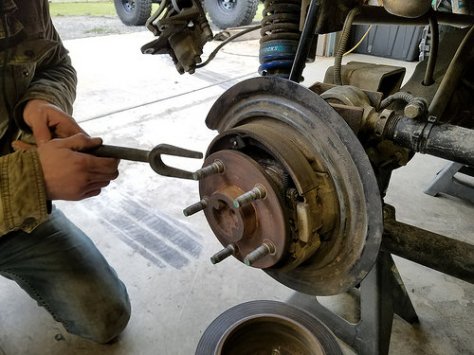
Step 7: Remove the 4 axle flange nuts.

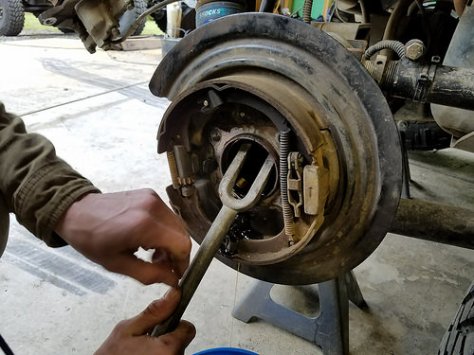
Step 8: Remove the old axle shaft by prying the flange out. Once it “pops” you will be able to slide it out by hand. Prepare to lose gear oil, so have a bucket handy.
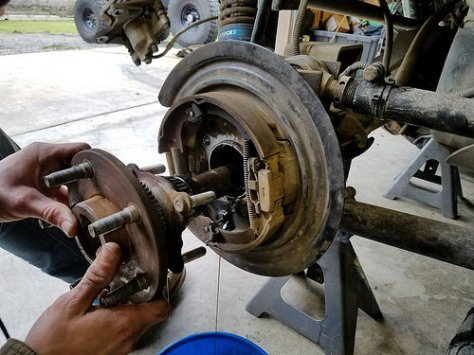
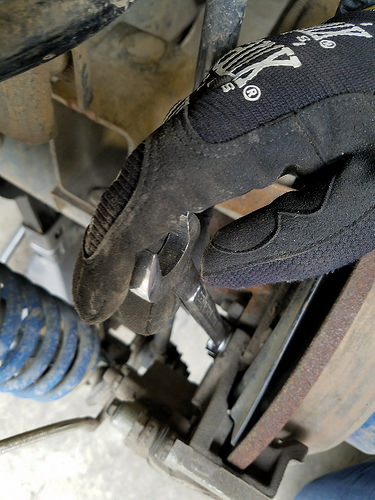
Step 9: Pry out the bearing race. You may want to keep these races in your offroad rescue kit, so as long as they are in good shape, take care with them.
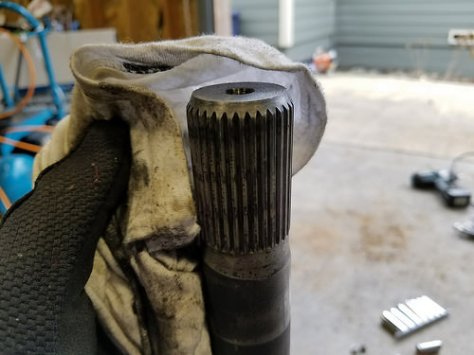
Step 10: If using previously loved shafts (like me) apply brake cleaner to the splines and make sure the bearing/race is clean and free of dirt
Step 11: To reassemble, follow these steps in reverse. Be sure when inserting the new shaft, do not force it. You need to ‘feel’ for the fit, by the differential and clear the shaft. Once in place, tap the end of the axle to seat it fully. When tightening the 4 axle flange bolts, thread them in together, so one end is not tight before the other. You may hear a pop when tightening them, that is just the assembly seating fully.
Step 12: Refill any lost gear oil, and re-torque all wheels and spacers.

😮
LikeLiked by 1 person
Good info!!!!
LikeLike